Adjusting these settings is actually quite simple. Once you have SUP installed go to the Administration Space, expand out Site Configuration then Click Sites. Highlight the server you installed SUP on and Click Configure Site Components then Software Update Point.

From here you can adjust the Software Update Point Component Properties. In Sync Settings you can modify the upstream location for this SUP. Unless you are adding another server in your enterprise to handle the top level sync I wouldn't change this setting.

In Classifications you can add new or remove Classifications as needed. Remember, if you plan to deploy Endpoint Protection you need to keep Definition Updates.

In Products you can add all relevant products to your environment or remove outdated items so they don't continue to take up storage space.

In Sync Schedule you can modify when you do an upstream sync.

On the Supersedence Rules you can modify when updates are removed once they have been superseded.

In languages you can add new languages as needed.

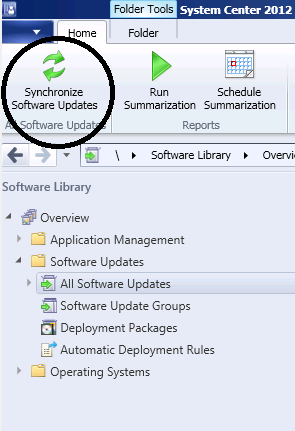
Once you have gone through and added all of the new Products needed in your environment you can do a manual sync or wait for the scheduled sync. If you want to do it right away go to the Software Library and expand Software Updates. Highlight All Software Updates and Click Synchronize Software Updates.
More to come!
Like this blog, give it a g+1
No comments:
Post a Comment