In SCCM 2012 - Installation (Part 1 - Prerequisites) we covered the basics for getting your environment and the SCCM server ready for the SCCM install. If you followed those steps the installation should go very smooth and will take you about an hour to complete.
So before we begin make sure the SCCM Admin account has local administrator rights on the SCCM server and log in as that user. Go ahead and run the splash.html file in the install directory. You will be greeted with the System Center 2012 Configuration Manager welcome screen. Click Install

Click Next

On the Available Setup Options scree you are given a few choices. At this point it is prudent to discuss our install options. To do so I will need to talk a little about what the differences are between the sites. Your choices are Central Administration Site (CAS), Primary Site, and Secondary Site.
Central Administration Site (CAS):
The Central Administration or CAS site is responsible for coordinating replication, discovery and client administration throughout your SCCM infrastructure.
Points of interest for a CAS:
- Supports up to 25 primary child sites
- Is required if your infrastructure exceeds 100,000 clients (the limit for a Primary Site)
- If you are using SQL Server Enterprise you can support up to 400,000 clients
- If you are using SQL Server Standard you can support up to 50,000 clients
- Microsoft recommends a beefy server to support CAS. 64GB server with 16 Cores
- The CAS server is also the content library which means every software package, windows update and application is stored on the server so additional storage space is needed.
Primary Site:
The primary site is used when your environment does not exceed 100,000 clients (SQL Enterprise on remote server) or 50,000 clients (SQL Standard locally or on remote server). It is also recommended for managing clients on networks with adequate bandwidth. Other things of note about Primary Sites, they cannot be nested under other Primary Sites and are not used as a boundary for client settings and security but do participate in SQL replication.
Secondary Site:
The Secondary Site is used in remote locations where network bandwidth is a factor. They can be nested under Primary Sites but cannot be stand alone. Management Point and Distribution Point are automatically installed during installation. They also participate in SQL replication.
If you are installing in a lab environment you can use the Use typical installation option and it will configure and install all requirements to the default setting. For this segment we will be using the Advanced install to elaborate on the different settings available during the install. Select Install a Configuration Manager primary site and Click Next

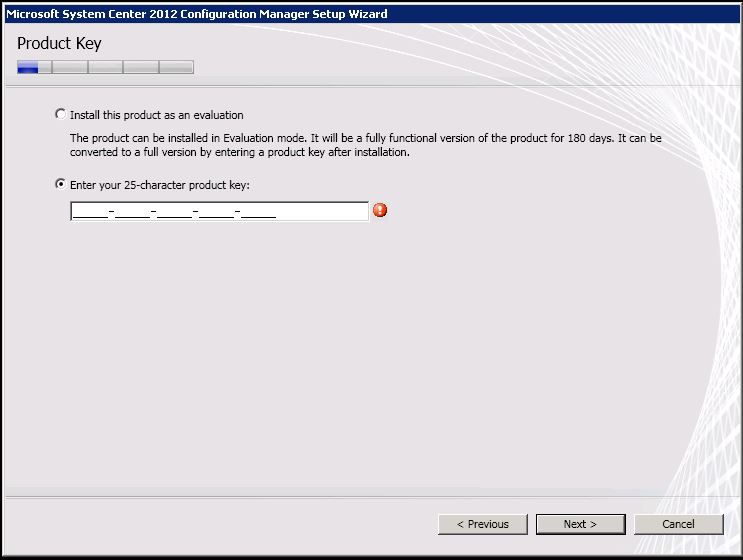
You can enter your product key if you have one or you can install as an evaluation copy. Click Next
Accept the EULA and Click Next

This is a weird throwback from previous versions. Its nice if you are building this in a lab because it will download and instal SQL Server Express and the other requirements needed for a stand alone server, but it does not give you the option to opt out if you are installing with a remote SQL instance. You will be given the choice to select a remote database instance in a later step. Go ahead and accept the EULA for each of the three options and Click Next

You will be prompted for a download location. Enter one in and Click Next

Choose all applicable languages and Click Next

Choose all applicable languages and Click Next

You will be asked to provide a Site code, a Site name and the install directory. I choose the default for the install directory, I also chose to install the Configuration Manager console. Click Next

Since this is the first server built in the environment we will be selecting Install the primary site as a stand alone site. Click Next

You will be prompted to confirm your decision. Click Yes

Here is where you can define the SQL server where your database instance resides. Enter the required information and Click Next

Since this is the first server in the hierarchy we will be using the FQDN of this machine. Click Next

If you are communicating with a lot of remote clients it might be prudent to use the HTTPS option but you will be required to provide a certificate for authentication. For the purposes of this install we are going to select Configure the communications method on each site system role and Click Next

A Management point and a Distribution point are required on the first Primary site. Use the FQDN of this machine and Click Next

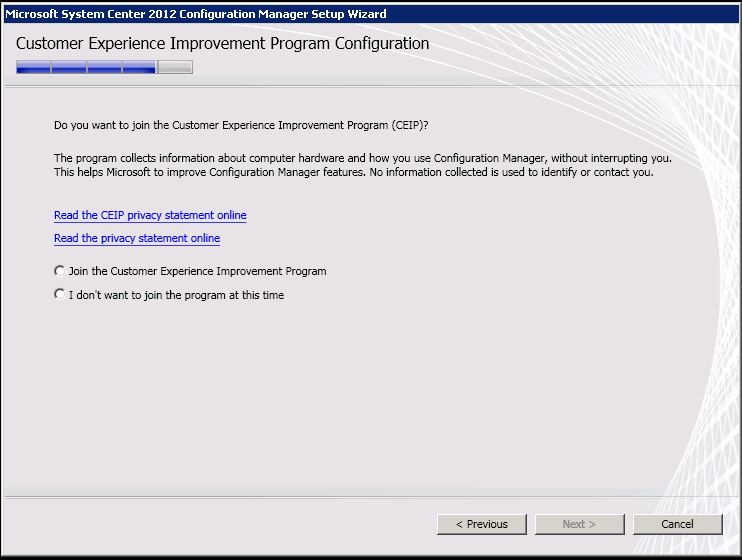
I generally opt out but the choice is yours. Click Next
Review the install summary and Click Next

If you followed all the steps in SCCM 2012 - Installation (Part 1 - Prerequisites) the prerequisite checker should come up clean. Click Begin Install

The install took about forty minutes in my case but can vary depending on the speed of your server.

More to come!
If you like this blog give it a g+1
nice post thanks
ReplyDeleteGood Information
ReplyDelete