So starting at the beginning, I have created a new Server 2012 R2 template in Hyper-V and need to create a domain to work with.
Active Directory Domain Services:
The installation is broken up into to parts, adding the Active Directory Domain Services and doing the server promotion. Now you remember in Server 2003/2008 days the old DCPROMO command which would run this all for you. Well that was done away with in Server 2012 and in Server 2012 R2.
So In Server Manager Click Add roles and features
The Roles and Features Wizard will start, Click Next
This is a Role-based or feature-based installation, Click Next
Running this install on the local machine, Click Next
Check Active Directory Domain Services
You will be prompted to install additional features, Click Add features
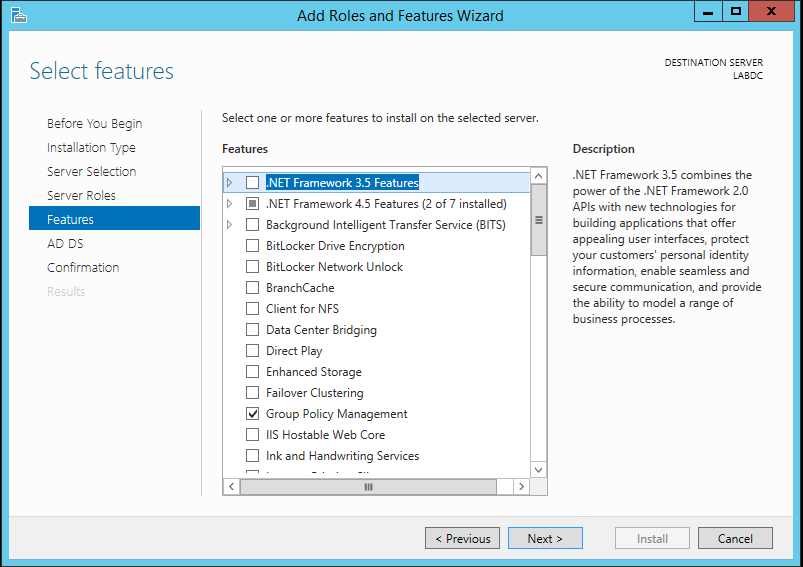
Click Next
We are not adding features at this time, Click Next
Click Next
You can check the Restart the destination server automatically if required box if you like. Click Install
You can close this window once the install begins.
Promote to Domain Controller:
When the install finishes you will get a new notification. Click on the Notification flag and you will see that the feature was installed successfully. Click Promote this server to a domain controller
The Active Directory Domain Services Configuration Wizard will kick off. This is a new domain/forest so we will Select Add a new forest, and call it lab.local
I want this to be at the highest forest/domain functional level so we select Windows Server 2012 R2 for both. We also need to add a Directory Services Restore Mode password. Click Next
Since this is the first DC in the forest/domain and we don't have DNS up and running you will see an error for DNS delegation. This error can safely be ignored. Click Next
Leave these as default. Click Next
Click Next
If prerequisite checks pass Click Install
And that's it. If you checked the box to reboot the server, it will do so automatically, otherwise you you will need to do so manually to finish the install. Once it does, you can log in normally.
Note: Up to 2008 R2 you were prompted to set the domain administrator password during the DCPROMO steps. For some reason this was done away with in 2012. The DA password defaults to the local administrator password. The last thing I do is log in and change it for security reasons.
More to come!
Like this blog, give it a g+1


