Tuesday, May 31, 2016

SCCM 1602 - Update

So one of the really cool things they introduced with 1511 is Updates and Servicing. Remember in SCOM 1511 - Installation when we mentioned that you want to use the Configuration Manager cloud service?
 
This is part of that. It gives you the ability to do in place upgrades of SCCM as part of the SCCM "Current Branch". Minor version upgrades will come on a monthly basis, and Major upgrades will happen once every four months. Gone are the days of the service pack and update rollup. One think to note, all of the minor upgrades are included in the major update. So you can elect to skip the minors if you want and just install the majors. There were a few minor releases in 2015 but in November Microsoft released the first major, 1511. Get it? November of 2015. Microsoft actually did something that made sense. So in February of this year Microsoft released 1602 Below is a summary of the high points of the release. You can read the entire Technet article for additional information.

Whats New:
  • Client Online Status: You can now view the online status of devices in Assets and Compliance. New icons indicate the status of a device as online or offline.
  • Support for SQL Server AlwaysOn Availability Groups: Configuration Manager now supports using SQL Server AlwaysOn Availability Groups to host the site database.
  • Windows 10 Device Health Attestation Reporting: You can now view the status of Windows 10 Device Health Attestation in the Configuration Manager console to ensure that the client computers have a trustworthy BIOS, TPM, and boot software.
  • Office 365 Update Management: You can now natively manage Office 365 desktop client updates using the Configuration Manager Software Update Management (SUM) workflow. You can manage Office 365 desktop client updates just like you manage any other Microsoft Update.
  • New Antimalware Policy Settings: New antimalware settings that can now be configured include protection against potentially unwanted applications, user control of automatic sample submission, and scanning of network drives during a full scan.
  • Windows 10 Servicing: New improvements were added based on your feedback such as filters in servicing plans for upgrades that meet specified criteria, integration with deployment verification and a dialog in Software Center when starting an upgrade.
This update also includes new features for customers using System Center Configuration Manager integrated with Microsoft Intune. Some of the features that you can expect to see are:
  • Conditional Access for PCs Managed by Configuration Manager: You can now use conditional access capabilities to help secure access to Office 365 and other services on PCs managed with Configuration Manager agent. Conditions that can be used to control access include: Workplace Join, BitLocker, Antimalware, and Software Updates.
  • Windows 10 Conditional Access Enhancements: For Windows 10 devices that are managed through the Intune MDM channel, you can now set and deploy an updated Compliance Policy that includes additional compliance checks and integration with Health Attestation Service.
  • Microsoft Edge Configuration Settings: You can now set and deploy Microsoft Edge settings on Windows 10 devices.
  • Windows 10 Team Support: You can now set and deploy Windows 10 Team configuration settings.
  • Apple Volume Purchase Program (VPP) Support: You can now manage and deploy applications purchased through the Apple Volume Purchase Program for Business portal.
  • iOS App Configuration: You can now create and deploy iOS app configuration policies to dynamically change settings such as server name or port for iOS applications that support these configurations.
  • iOS Activation Lock Management: New capabilities include enabling iOS Activation Lock management, querying for the status, retrieving bypass codes, and performing an Activation Lock bypass on corporate-owned iOS devices.
  • Kiosk Mode for Samsung KNOX Devices: Kiosk mode allows you to lock a managed mobile device to only allow certain apps and features.
  • User Acceptance of Terms and Conditions: You can now see which users have or have not accepted the deployed terms and conditions.
How to install 1602:
In Administration > Overview > Cloud Services > Updates and Servicing you should see this:

Note - If the update seems to be stuck in the "downloading" state for an extended period, restart the smsexec service to get it to finish.

Now that we have it downloaded we want to Right Click and select Run prerequisite check.

While the prerequisite checker is running you will see the state change to checking prerequisites. Once it is finished you will see prerequiste check passed.

Right click on the update again and Click Install Update Pack

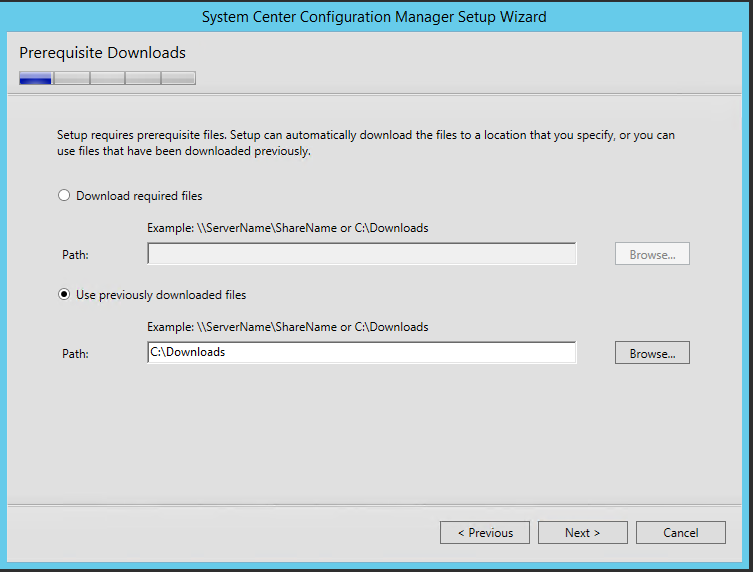
On the Updates Wizard Click Next

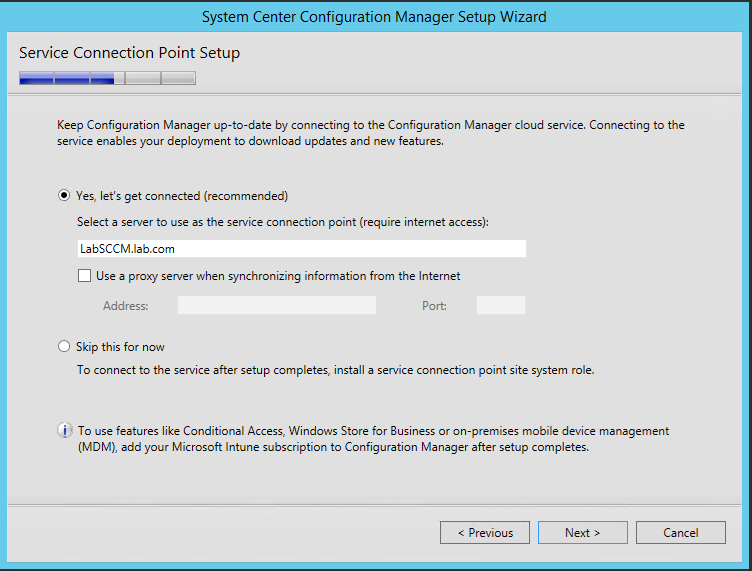
Check the features you want and Click Next

You can choose how you want to update the clients, either all or by testing on a specific collection. Click Next

Accept the EULA and Click Next

Review the summary and Click Next

Click Close and wait

There is a console upgrade in 1602 so as soon as the install finishes you will be prompted to update the console. Anyone who has a remote installation of the console will also be prompted.

When the console update finishes it will open back up again and you can track the progress of the client updates. You will notice that the Hierarchy Site Version

matches the Client version

Please keep in mind the size of your environment will dictate how long this process takes. Very large builds could take days or even weeks to update all of the clients.

Also, if you have not enabled automatic client updates Administration > Overview > Site Configuration > Sites > Hierarchy Settings > Client Upgrade Tab and check Upgrade all clients in the hierarchy using production client, the clients will not update on their own.

More to come!


If you like this blog, give it a g+1

Thursday, May 26, 2016

SCCM 1511 - Installation

So a few years ago I did three segments on how to install SCCM 2012. It covered the WSUS installation and configuration, the SCCM prerequisite installs and the actual SCCM install. Since the time of those writings that method has become obsolete. A man by the name of Nickolaj Andersen wrote a very cool PowerShell based tool called the ConfigMgr Prerequisites Tool to run through all the pre-installation steps required. At the time of this writing it was on version 1.4.2 which supports SCCM 2012, SCCM 2012 R2 and SCCM Current Branch (1511+). So I am going to run through the updated 1511 install using this tool.

What you need before you begin:
  1. Download the tool (linked above)
  2. On your SCCM server set your PowerShell execution policy to Unrestricted. 
    • Set-ExecutionPolicy Unrestricted
  3. In Active Directory identify the Schema Master server
  4. In Active Directory create a service account called SCCMAdmin. This needs to be a SysAdmin on your SQL server and a Local Admin on all SCCM servers
  5. In Active Directory create a security group called SCCM Site Servers and add all the SCCM servers and the SCCM Admin account to this group
Note - There are a few caveats to using the ConfigMgr Prerequisites Tool, however. You can only run it on Server 2012 and Server 2012 R2 and it should not be run on a Domain Controller (If you are trying to install SCCM on a DC please slap yourself and rethink that plan). The account you use to run the tool needs to be a member of Domain and Schema Admins in order to execute a couple of the steps (described below).

When you first run the tool it does a validation check to see if reboots are required, you are on a supported server, you have a supported version of PowerShell and the account you are using is a local administrator on this machine. You will also notice the current supported SCCM versions in the lower left.
Since we have Green Check marks across the board, lets begin!

System Management Container:
If you click on the Other tab at the top and Select System Management Container. Check the box Create the System Management container and select Search.

Enter in the name of the security group created above and Click Search. Once it is found select it in the window below and Click OK. If you are not a member of Domain Admins you will not be able to add the selected group when you search.

This will go out to ADSI, create the Systems Management Container. It will then go to AD and add the security group defined above and set delegation permissions for it.

Extend Active Directory Schema:
Now click on the Extend Active Directory Schema radio button. You will be asked for the name of the Schema Master server name. Once you enter it in Click Extend. If you are not a member of Schema Admins you will get an error at this point.

You will be prompted for the location of the SMSSETUP\BIN\X64 folder so it can locate the extadsch.exe file to execute the AD Schema extension.

Verify that it was successful

Windows ADK:
Next we will install the Windows Assessment and Deployment Kit. Select the Install Windows ADK radio button. You will see that you have two installation Methods available to you, Offline and Online. If you have already downloaded the ADK you can do an offline install, otherwise select Online. You can also install either ADK 8.1 or ADK 10. Since we are going to install SCCM 1511,  ADK 10 is required. Click Install

Verify it was successful

Install WSUS:
Now select the Install WSUS radio button. Since I already have SQL 2014 SP1 installed I am going to leverage that for the WSUS install. You can also use the Windows Internal Database if you choose. After filling in the appropriate information Click Install

You will be prompted for a save location for the WSUS Content. I created a new folder on c:\ called WSUS Content and Clicked OK
Note - This is obviously not an ideal configuration. In a production environment you would not want this on the c:\ but since this is just a lab it didn't matter

All good!

Note - Since we are also going to be supporting Windows 10 in this lab you will need to download and install KB3095113 which provides WSUS support for Windows 10 feature upgrades.

Primary Site Prerequisite Installs:
We are going to be building a Primary site so Click on the Primary Site Tab. Be sure to Check the box Download prerequisite files and Click Install

You will be prompted for a save location for the downloads after all the roles and features are installed. I created a new folder c:\downloads

Then you will also be prompted for the \SMSSETUP\BIN\X64 folder so it can verify version information for the download

A lot better than doing it the hard way!

SCCM Install:
Now that the server is prepped (and in record time), we are ready to run the SCCM install. If you are not logged in as the SCCMAdmin account do so now. Double Click on splash.hta. Make sure you have Version 1511. Click Install

Click Next


Select Install a Configuration Manager primary site and Click Next

Enter your license key and Click Next

Accept the EULA and Click Next

I am still surprised this has not been changed. Accept all three (even though we wont be using SQL Server Express). Click Next

Since we have already downloaded the install files Select Use previously downloaded files and browse to the download location. Click Next

The install will verify that all files needed are present

Select all appropriate server languages and Click Next

Select all appropriate client languages and Click Next

Enter a site code and site name. You can also modify the install location. Click Next

This is going to be a new stand alone primary so select Install the primary site as a stand-alone site and Click Next

Nice feature added in 2012 R2. You can add additional members of the hierarchy at a later time if you need to. Select Yes

Verify your SQL installation information and Click Next

You can modify the file locations if your SQL procedures dictate. Click Next

Since we only have the one Primary, Click Next

Choose Configure the communication method on each site system role and Click Next

We want this server to be a Management Point and a Distribution Point so Click Next

Click Next

This is a great new feature which I will cover in a subsequent segment. Select Yes, let's get connected and Click Next

Review your install summary and Click Next

I had to change the SQL Server Service to Network Service or Local System to resolve the failure. Click Run Check

These warnings can be ignored. Click Begin Install

Eighteen minutes later (more or less) and we are all done! Click Close and Exit from the installer

From here you can open the console and begin using SCCM 1511!

More to come!


If you like this blog, give it a g+1