Setting up a DP is fairly straight forward, but there are a couple things that need to be done prior to the install. First you need to add the SCCM Admin account and the SCCM Site Server account to local administrators on the machine you will be making a DP. Otherwise you will get permissions errors during install.
Next, if you are running a local firewall and plan on enabling PXE support on this DP you will need to open the following ports on the new Distribution Point, otherwise they will not be able to connect.
- UDP Port 67
- UDP Port 68
- UDP Port 69
- UDP Port 4011
Note: Operating System installation utilizes UDP Port 69
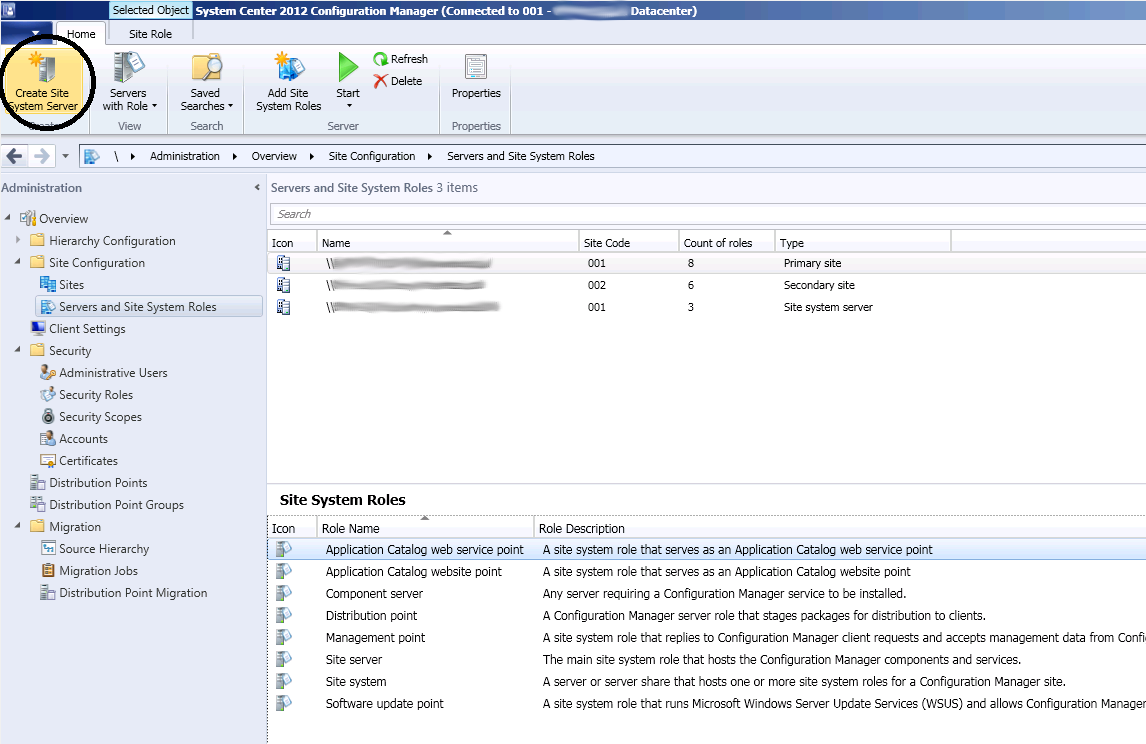
So once we have the previous steps completed lets move to the installation. In the SCCM console go to the Administration space and expand Site Configuration. Select Servers and Site System Roles then Click Create Site System Server.
The Create Site System Server Wizard will open. Enter the name of the server you wish to add this role to, you can browse as well. Then select the Site it will be reporting to. Click Next

Enter proxy information as required. Click Next

Select Distribution Point and Click Next

Check Install and configure IIS if required by Configuration Manager. You can also choose between HTTP and HTTPS depending on your environmental requirements. If you have an existing certificate you can use that, otherwise Click Next

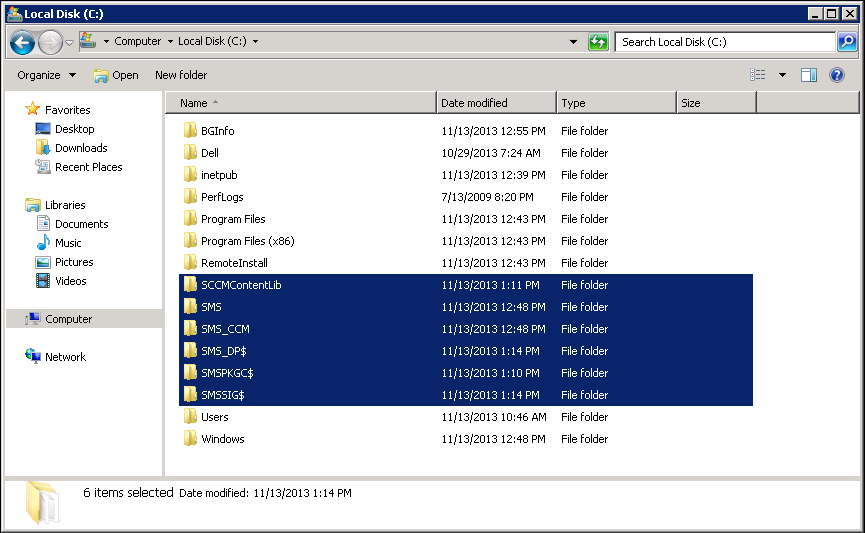
For drive settings you can use an alternate drive or leave the setting as Automatic which will create the catalog folders (discussed later) on the c:\ drive. Depending on the size of the c:\ drive and the number of software packages you may want to use an alternate drive. Click Next

You can specify if you want this Distribution Point to pull content from other DP's in your hierarchy or only from CAS, Primary or Secondary site servers. Click Next

If you wish to use PXE Support Check Enable PXE support for clients. You will be prompted to open firewall ports which was discussed previously. Click Yes to the prompt.

You now want to select Allow this distribution point to respond to incoming PXE requests. Since we are dealing with a small environment I unchecked require a password when computers use PXE (this can be changed later). Click Next

Now you can choose if you want to allow multicast. Multicast gives you the ability to disseminate package data to multiple clients simultaneously. You can select the number of clients and throttle data accordingly. If you are in a small office with limited bandwidth you may not want to enable this option.

Content validation can be helpful if you are going through a lot of changes with the software packages in your environment. It verifies with the site server on a scheduled basis to confirm content. Click Next

Define the respecitve boundary group for this server and Click Next


You should get a success. Click Close

You can monitor the installation status of the DP if you go to the Monitoring space, expand Distribution Status and Click Distribution Point Configuration Status. Find the newly created DP and highlight it. In the bottom viewing pane you will see installation progress. You may see a few Failed to connect to remote distribution point errors initially. This is normal. What you are looking for is Distribution Point installation\upgrade successfully completed. If you get other errors you can highlight them and select More Details

More to come!
Like this blog, give it a g+1
No comments:
Post a Comment