UPDATE 5/26/16 - This post has been superseded by SCCM 1511 - Installation. Please see this post for your SCCM Install.
I have been spending a lot of time over the last year writing about SCOM and all of the fun things it can do. Someone asked me the other day if I was going to write anything about the other members of the System Center Suite. I had always planned to do so but I just haven't gotten to it. That being said, I want to expand out my segments to other areas of the System Center Suite, starting with Configuration Manager.
The installation for Configuration Manager is considerably more complex than SCOM, specially with getting the server and environment prepared to receive SCCM and allow it to function properly. As such I plan to cover this in two parts. This segment will be dedicated to getting everything prepared with Active Directory, Group Policy, SQL, WSUS and the requirements on the actual server to complete the install. In
part 2 I will go through the steps to do the installation.
Hardware Requirements:
- Disk space: %SYSTEMDRIVE% requires at least 10 GB free hard disk space, and 50 GB total
- Processor: AMD Opteron, AMD Athlon 64, Intel Xeon with Intel EM64T support, Intel Pentium IV with EM64T support - Minimum: 1.4 GHz
- 2GB of memory minimum, 4GB recommended (it will install with less than 2GB but it will run like crap)
Operating System Requirements:
SCCM 2012 needs to be installed on at least Windows Server 2008 R2 SP1
Active Directory:
Service Accounts
Generally I use two service accounts when installing SCCM, a SCCM Admin account and a Domain Join account. The admin account will be used to do the installation as well as have permissions in AD and in SQL. The domain join account does just that, it will be used to add computers to the domain when created. The domain join account is not needed for the actual installation but it's more efficient to create them both at the same time.
Create the Systems Management container:
Note: The following actions will need to be performed by someone with Domain Administrator level access in Active Directory.
On a Domain Controller open
ADSI Edit. If you are not connected to a DC by default then
Right Click on ADSI Edit and
Select Connect to... Click OK
Once you are connected, expand out Default naming Context, then expand the DC=.
Right Click on CN=System and
Select New >
Object.
From the Class selection choose
Container and
Click Next.
Enter
System Management as the value and
Click Next then
Click Finish.
Click Finish
Delegate control to the System Management Container:
Open
Active Directory Users and Computers. In
View make sure
Advanced Features is
checked. Expand out the domain, then expand System. You should see the newly created System Management folder.
Right Click on the folder and
Select Delegate Control...
The Delegation of Control Wizard will open,
Click Next
On the Users or Groups window
Click Add
In the Select Users, Computers or Groups window,
Click Object Types
In Object Types make sure
Computers is Selected and
Click OK.
Enter the name of the SCCM computer and the SCCM Admin account,
Click Check names to verify they are valid and
Click OK
You will see the two accounts added.
Click Next
In the Tasks to Delegate window select the
Create a custom task to delegate radio button and
Click Next
Select
This folder, existing objects in the folder, and creation of new objects in this folder and
Click Next
Select
General,
Property-specific,
Creation/Delegation of specific child objects and
Full Control. Click Next
Click Finish
Extend the Active Directory Schema:
Note: The following action will need to be performed by someone with Schema Administrator level access in Active Directory.
Active
Directory schema extension is not required at the time of installation,
and can be done post install but you will get warning notifications
during the install process if you do not. The benefits for doing the
extension outweigh any reasons not to in my opinion so I usually
recommend doing the extension before. For additional information
regarding schema extensions refer to
Technet. If you have already run the schema extensions for SCCM 2007 it is not necessary to run them again.
In the SCCM install directory under SMSSETUP\BIN\X64 you will find extadsch.exe. Run this from an elevated command prompt.
To verify the install was successful you can review the execution log, c:\ExtADSch.txt. You are looking for
Successfully extended the Active Directory schema.
Group Policy:
Open SQL Replication Ports
Note: The following actions will need to be performed by someone with Domain Administrator level access in Active Directory.
On a Domain Controller open
Group Policy Management. Expand out the forest and domain.
Right Click on the Domain and
Click Create a GPO in this domain, and link it here...
Call the new GPO
SCCM Policy and
Click OK
Once the policy is created
Right Click on it and select
Edit
Drill down to Computer Configuration > Policies > Windows Settings > Security Settings > Windows Firewall with Advanced Security and select Inbound Rules. In the open window,
Right Click and select
New Rule
Select
Port and
Click Next
Select
TCP and enter port
1433 as the specific Port.
Click Next
Allow the connection and
Click Next
Since I am building this in a lab I am not overly concerned with security I left this open for all profiles. You may want to lock this down to Domain and Private in your environment depending on your specific circumstances.
Click Next
Give it a name and
Click Finish.
Repeat the previous steps for TCP Port 4022 as well.
File and Printer Sharing:
While still in the GPO
Right Click in the window and
Click New Rule. Select
Predefined and choose
File and Printer Sharing from the drop down menu.
Click Next
Select
all rules (if not already selected)
Click Next
Select
Allow the Connection and
Click Finish
Repeat the previous steps for an outbound rule as well.
Windows Management Instrumentation (WMI):
While still in the GPO
Right Click in the window and
Click New Rule. Select
Predefined and choose
Windows Management Instrumentation from the drop down menu.
Click Next
Select all Rules and
Click Next
Select
Allow the connection and
Click Finish
Additional Local Installs:
There are a few installs that are required on the SCCM server before you are ready to do the final installation.
- .NET 3.5
- .NET 4.0
- Background Intelligent Transfer Service (BITS)
- IIS6 WMI Compatibility
- Remote Differential Compression (RDC)
- Windows Server Update Service (WSUS)
For .NET 3.5
Open Server Manager
Click on Features
Click Add Features
Check the box for .NET Framework 3.5.1 Features
You will be prompted to install:
Web Server (IIS) and Windows Process Activation Service
Click Add Required Role Services to continue
On Web Server (IIS)
Click Next
On Select Role Services
Click Next
On Confirm Installation Selections
Click Next
For .NET 4.0
If you don't already have a copy of .NET 4.0 you can get it from
Microsoft.
Run the .NET 4.0 executable
Check I have read and accept the license terms
Click Install (this will take a few minutes depending on the specs of the box)
Click Finish
For BITS
Open Server Manager
Click on Features
Click Add Features
Check the box for Background Intelligent Transfer Service (BITS)
You will be prompted to install:
Web Server (IIS) Management Tools and Remote Server Administration Tools
Click Add Required Role Services to continue
On Web Server (IIS)
Click Next
On Select Role Services
Click Next
On Confirm Installation Selections
Click Next
For IIS6 WMI compatibility
After BITS is installed you will need to add one additional sub-feature to IIS, the IIS6 WMI Compatibility.
In Service Manager
Click Roles
Click Web Server (IIS) under
Roles Summary
Scroll down to
Role Services and
Click Add Role Service
Scroll down and
expand Management Tools, then
expand out IIS 6 Managment Compatibility
Check the box for IIS 6 WMI Compatibility
Click Install
For Remote Differential Compression (RDC)
Open Server Manager
Click on Features
Click Add Features
Check the box for Remote Differential Compression (RDC)
Click Next
Click Install
For WSUS
There are a couple different ways to handle WSUS. Now assuming you have a fairly mature environment you probably have a WSUS server out there already. If this is the case you will only need to install the Management Console locally on the SCCM server. You can do this from the WSUS install which you can get from
Microsoft. If you do not have WSUS in your enterprise it will need to be setup. For more details on how to install WSUS refer to
Windows 2008R2 - WSUS Installation. You can install this on the SCCM server if you are setting it up in a lab, but it is not recommended for a production environment due to performance issues. It is better to have it be on its own stand alone machine.
SQL:
Before I finish I wanted to briefly cover the SQL requirements. SCCM needs a SQL instance created on the back end. You will want to take into consideration the size of your environment before you set this up. A few things to consider:
- The instance needs to be 2008 R2 SP1 CU4 minimum
- SQL Server Enterprise will support up to 400,000 clients (for a CAS site which I will cover in the next segment)
- SQL Server Standard will only support up to 50,000 clients when installed locally on the SCCM Server. If it is a remote instance it will support up to 100,000 clients
Once you have your SQL instance setup you will need to grant the SCCM server and the SCCM Admin Local Administration rights on the SQL machine (assuming it is not on the same server).
One final thing to do with the SQL instance. By default SQL sets the minimum and maximum memory values for you as shown below:
- 0 MB Minimum
- 2147483647 MB Maximum
Now this is not really much of an issue but it will throw a warning when you run the install check. Best practice on this is to set both values to 8 GB if you are installing a CAS site and 4 GB for a Primary site.
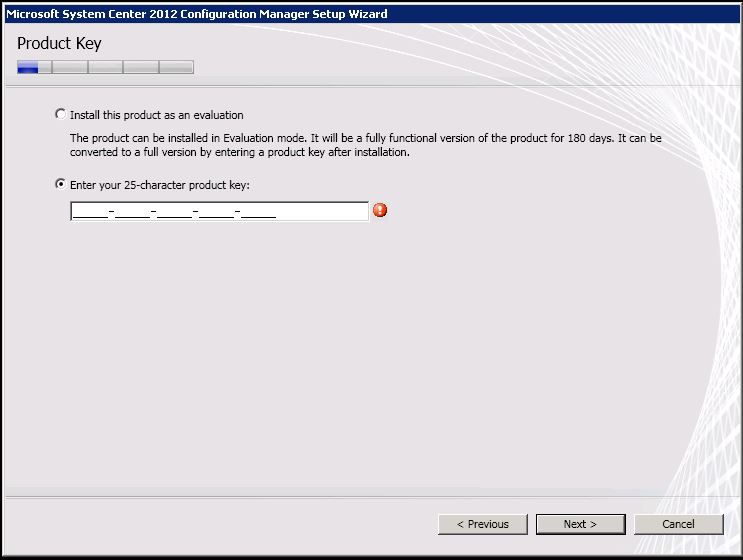
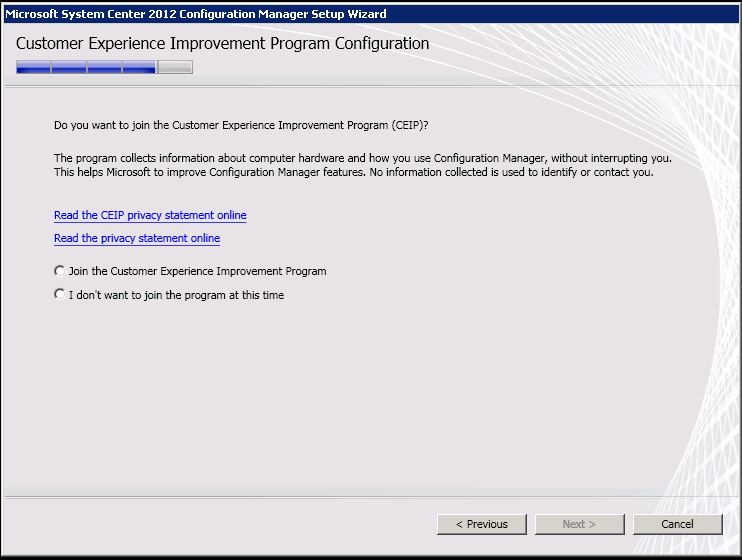
Up next is the actual install of SCCM. Please see
SCCM 2012 - Installation (Part 2 - Install) for more details!
More to come!
If you like this blog, give it a g+1
Contributing Documentation:
Technet,
Technet,
Technet